60mm Finder Scope Project
From SkyInsight
by Joe Guzman
Fellow SkyInsight members...
I have never been satisfied with the finder scopes that the telescope companies provide with our instruments. Most are cheap junk, some even with plastic lenses and not even worthy for spying on the neighbors.
The better constructed ones do a decent job for what they are supposed to do...locate the object in low power, but I have always been disappointed in the "Straight-thru" mini refractor types, regardless of superiority. What is needed is a right-angled diagonal for comfort and ease of use. Straight thru finders not cool.
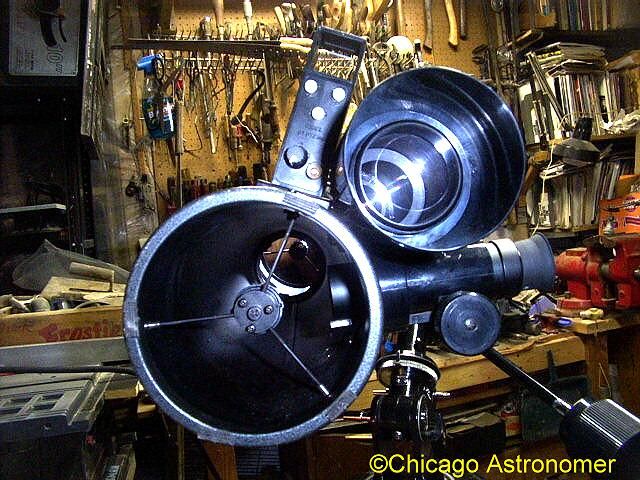
For some years now, I have been using a homemade finder scope, (ABOVE), made from 10X50 binocular parts and other doo-dads, and have been quite satisfied with it's performance. It utilizes a focuser, right angled diagonal and interchangeable eyepieces...and sat on a modified microphone stand. But I always wanted to use one of my 60mm refractors as a low powered finder scope for some time now. What kept me from accomplishing this was proper mounting rings. Now, I have experimented in constructing my own rings, but it never worked the way I wanted, so I abandoned the idea...until recently. And besides, the longer focal length of a regular 60mm tube would put the eyepiece waay on the other end of the main OTA...close to the primary mirror. It would work, but very inconvenient.
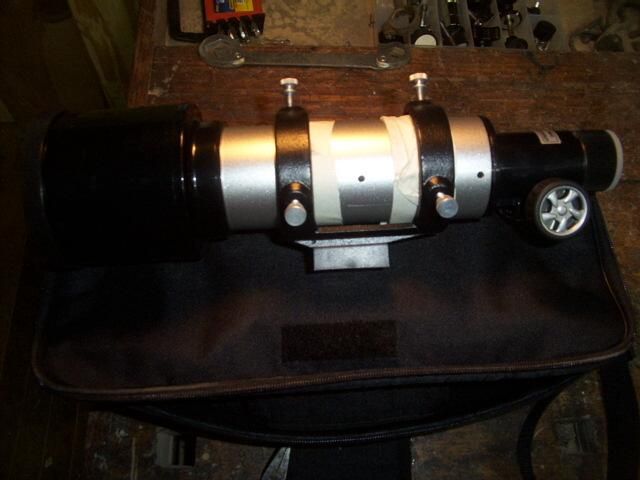
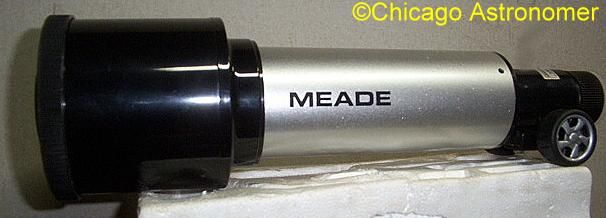
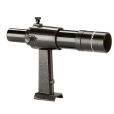
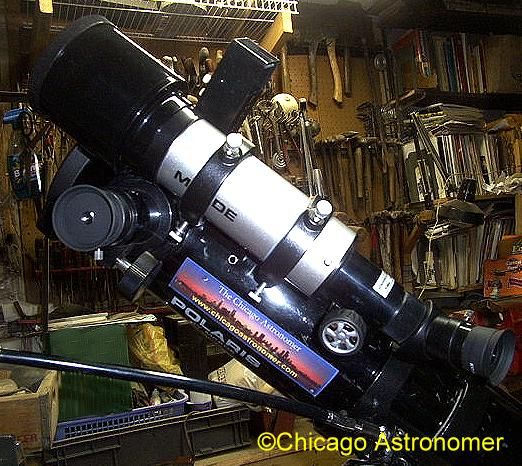
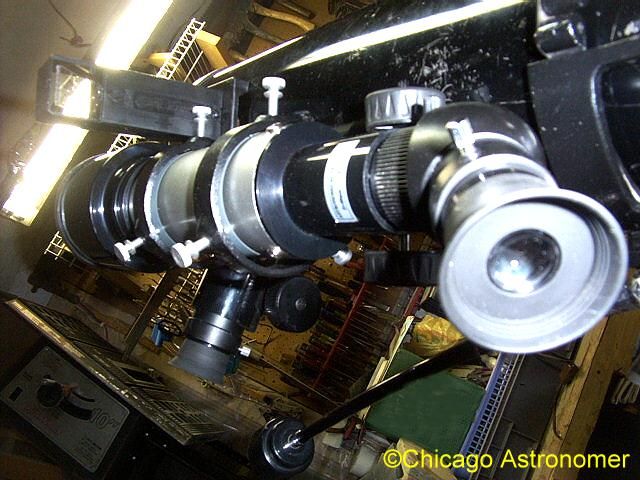
Chicago Astronomer Bill provided me with a compact shorty 60mm he picked up. It came with two eyepieces - (17.5mm & 9mm), a barlow, mini tripod, cushioned carry case and a 45 degree terrestrial diagonal. I thought to mount it on my 4.5" OTA, but again, I had no proper ring mount to set it in. I tried many different configs with different parts I have laying around, but it just wouldn't work properly. One thing or another it just wouldn't cooperate with me, so I gave up and settled on keeping it in the car as a permanent part of my automotive equipment.
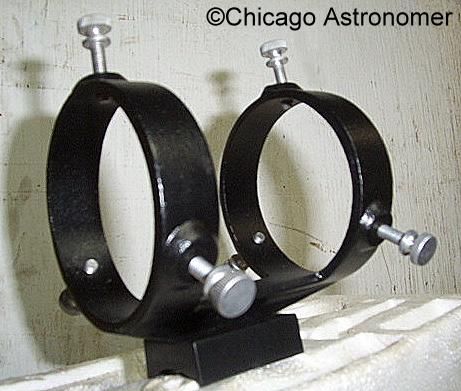
Then, knowing I was looking for rings, Chicago Astronomer Steve sent me an email on rare 60mm rings available for bid on Ebay. I quickly loaded the site...and there it was...a dual ring mount...for cheap!
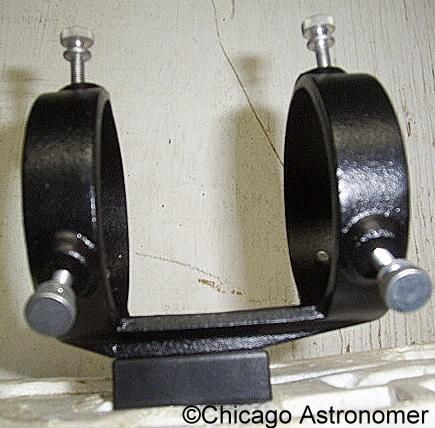
I contemplated on bidding for it to save a couple of bucks, but after some sage advice from Steve, I just bought it outright on the spot. It arrived in about three days from Arizona in great condition and I was eager to mount it...but the weather here was cold, quite cold, and I put it off until it warmed up a bit. By the end of February, it was unseasonably warm, and I thought it was time.
I started the project at about 1:00 am and I tried to visualize and mock mount the best place to mount the mini 60mm on the OTA, and figured that just below the focuser would be the best. Easy reach and distance between he two focusers and small head travel from eyepiece to eyepiece. This would be a poor location as it will be evident soon.
So, I removed the spider vane to get my hands inside the tube, measured carefully and drilled the two holes. The tripod base of the 60mm, when turned upside down, fit perfectly to the curvature of the OTA. I was happy. I had to remove the focuser in order to slide the 60mm into the rings, no problem - did so and put it back together, and after about an hour of effort with the project I took it out to the backyard for a test.
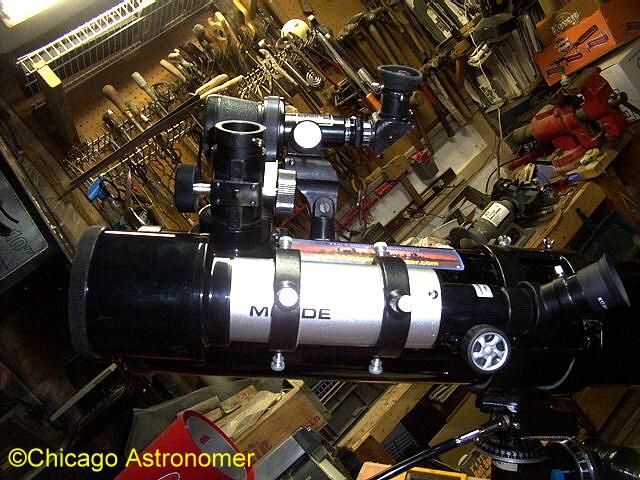
I did not attach the counter weight to the scope, so a was fighting it for balance, but it was just a test anyway. I put in a 25mm eyepiece and peered thru. Great, I was seeing pinpoint stars and anticipated aligning both scopes for this quick measure of success. I sloohed it to Saturn and caught it in the 60mm...good crisp view. Located it in the 4.5" and saw it was good too. But, the main OTA focuser was high up on the tube, and as I often do, I rotate the tube in the cradle to a more comfortable and natural position. But I can't seem to rotate it down enough...I hear something banging...something is preventing it from doing so. Arrgh! The 60mm scope, where I mounted it is banging against the Equatorial Mount. "Can't be!" I thought, I measured everything so carefully. But alas, yes, I was in error. Sigh....
Grudgingly, I brought back the scope back into the workshop and filled with frustration I just wanted to leave it there...dealing with it on another day. But, determination washed over me and it will be done this early morning.
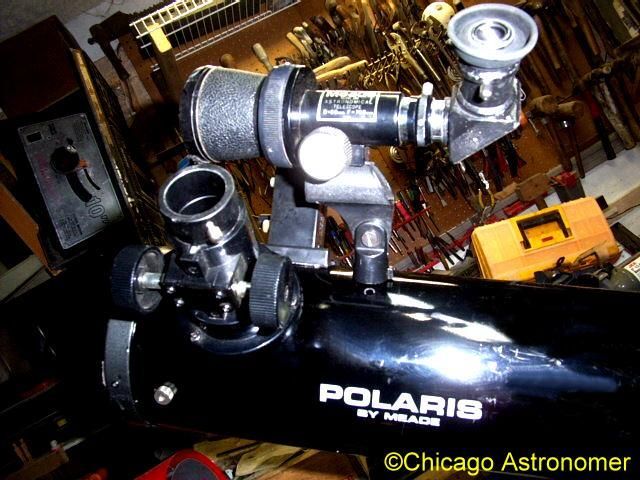
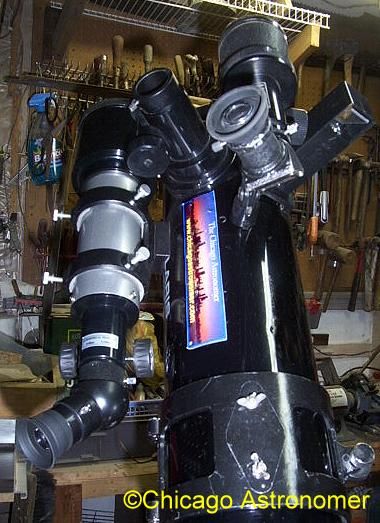
So, I remove the spider vane again, and extracted the 60mm from it's original location. The only other decent place was to mount it "over the top" of the focuser, which meant I needed to reposition my trusty Rigel star finder as well. I feel the domino effect taking place. So I remove it as well, set it aside, put on some tunes and commenced to mount the shorty tube on it's second location that morning. It went faster this time, as it desired to be placed here and all went well with no complications. The Rigel found a good place too...kinda in between the two scopes, and I was ready to test it again.
Dawn is now slightly painting the eastern sky and Saturn is long gone. I focus the main tube on to Ursa Major and to Alcor/Mizar. I then peek thru the 60mm, and there it is! Mizar is just slightly off center, but with some minor nudging from the adjustment screws and doing several back and forth checking between the two eyepieces...it had become an actual star finder!
I rotated the OTA in the cradle and in this configuration enabled me to position it for comfortable viewing. I aimed it tube straight up, (one of the worst positions of an EQ mount). Here with a regular star finder scope, one has to contort into a circus act in order to peer thur it. Not here. With the handy dandy 45 degree angle star diagonal, it was a breeze. ( I have since replaced the 45 with a 90 I had....much better.)
Pleased with the work accomplished and rather tired now, I brought it to the hard wheeled case that I keep the 4.5" in. Will the damned thing fit in the box with the new scope attached? "It's just got to!", I thought....it works so well, it just has to! I retracted the legs, and like the Lunar Excursion Module, drew in the legs close together. I rotated the tube so that the focusers and Rigel fit in between all three legs...and slowly lowered the whole assembly into the box. With a little yaw here, a pitch there...the box slowly accepted the new and improved Meade 4.5" reflector - with the new finder scope. I cautiously closed the lid, threw the latches...and it all fit! Hooray and smiles all around!... :)
Quite cool!... 
I took the new set up for it's maiden trial run, (I detest the term "First Light"  ) for the Mercury spotting a few days later by the Adler Planetarium and it worked splendidly. With just minor tweaking of the adjustment screws, I aligned the 60mm and the Rigel to the OTA, and they all get along well together. Comparing the newer scope to the older reflector tube, the main OTA needs a good painting, I think I'll tackle that this spring with my Logo... :)
This was a good project and when I upgrade, the shorty 60mm tube will come along.... #Yay#
Source here at the Chicago Astronomer: http://astronomer.proboards23.com/index.cgi?action=display&board=Equipment&thread=1141494580&page=1
